Pages

Friday, October 31, 2014

November Stamp of the Month Blog Hop

Welcome to the November Stamp of the Month Blog Hop!  


Remember this is a circular hop, so if you get lost along the way, you can always go back to Melinda's blog here.   Each month our group of consultants keeps growing and you will find over 60 creative designs for this stamp set.  If you have been hopping along then you have arrived from Wendy's blog here.


This month's stamp set is "It's the Little Things" - a stamp set perfect for making thank you cards and favors.


When I first looked at this stamp set, I thought - there is NO way that I am cutting out all of these little pieces!  So I decided to play around with stamping the images.  I found a card I made several years ago using the "doodling' technique and I "googled' doodling and boy did I get an updated 21st century version!

I flipped through the Annual Inspirations and I found inspiration in the Brushed Floral paper.  If you have been following my blog lately, then you know that this is quite the opposite of colors that I have been using!


I am really pleased with how this card turned out.  I decided to name my technique  "Brushed Watercolors".  It may not be new but it is NEW to me!


Here are the steps that I did to create the look of the background paper in the card. (sorry - videos are not my expertise!)

Step #1


Step #2


Step #3


Step #4 


Don't forget to add the accents to your smaller flower as well.

Step #5


Step #6


Step #7


Supplies:
Cardstock - White daisy, Pixie
Brushed B & T paper
Inks- Canary, Cotton Candy (I don't have Pixie yet) and Juniper 
Waterbrush- retired

I hope you enjoyed this quick tutorial and give this technique a try! Now it is off to Melinda's blog here

Thursday, October 30, 2014

Pazzles Halloween Mini Album

Happy Halloween!!


Harley and I are all dressed up and want to wish you a fun day with your family , friends and co-workers!

I finally finished my Pazzles Mini Halloween album and it is all ready for pictures. Maybe next year I will get to Busch Gardens Hall- o- Scream festivities ( but I doubt it...)


I used a CTMH retired paper pack called Mischief to cut out many of the pages. The rub-ons were a perfect to accent all of the pages.  Lots of Black and White Daisy ink to add the 'spookiness' to all of the pages.


I must admit that I used up a ton of extra  cut pieces from my Halloween mini album from 2013.  Why not?


I hope you have an absolutely wonderful spooky Halloween!  I am ready:

candy - check
costume- check
decorations - check
scary music- check

Now waiting for the night to begin!


Day 10 of FRIGHTFULLY Creative Halloween FUN!


Day 10 of FRIGHTFULLY Creative Halloween FUN!


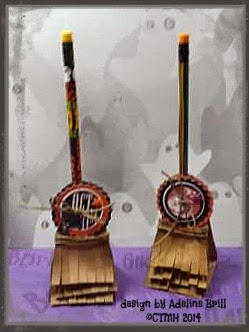
Today is the day I start to finish as many Halloween projects as I can!  Then I will pack up Halloween on Sunday and start my Thanksgiving projects!  As I said each year, I try to add more projects to my plastic tub, so I can have an awesome display for next year.  You will notice that many of my projects were basically cardstock, rather than paper packs and that is the reason why!

Here is a cute project idea I found on My Favorite Things here.  I did not have the die so I designed one in my Pazzles Inspiration Pro 2014 software.


I hope you have enjoyed my 10 Days of Frightfully Creative Halloween FUN projects!  

Coming soon! ..... the November Stamp of the Month Blog Hop.  Come join the fun!


Wednesday, October 29, 2014

Day 9 of FRIGHTFULLY Creative Halloween FUN!


Day 9 of FRIGHTFULLY Creative Halloween FUN!


Only 3 more days until Halloween is here!  A few of the neighbors have decorated their houses and one is especially SPOOKY!  The project for today is a shaker card.  As I was organizing my Halloween stash, I came across several packages of Halloween Confetti.  I 'googled' and found several Halloween shaker cards and designed mine using a combination of the CTMH Art Philosophy and Artbooking cartridges.

Since I have to design all of my cuts in Design Space, sharing the DS files is easy.  So you can find the Design Space file is here

A Close to My Heart consultant requested a Cricut Craft Room file for the card so she could make it with her Expression 2.  You can download the CCR file here.


The cream colored cut is actually the cut for the acetate to hold all of the shaker pieces in your card.  The colors I used are Sunset, Honey, Black and White Daisy.  The stamp set is again the Moonlight WOTG stamp set - an oldie but a goodie!


The extra tag was just floating around in my stash as well...


Card Inside


I hope you have enjoyed my Frightfully Creative FUN event.  Not only have I added to my Halloween bucket of goodies but I am using up my stash as well! But not to worry, I still have plenty!


Tuesday, October 28, 2014

Day 8 of FRIGHTFULLY Creative Halloween FUN!

                         Day 8 of FRIGHTFULLY Creative Halloween FUN!

This little treat box has FUN written all over it!  Do you need a quick little project for a co-worker?  Then this is for you!


I used the "Chalk It Up" B & T paper for the starry background of the box and I grunged up the Whisper cardstock with black stamped images and some ink.

I added the August SOTM images to the treat box and finished it off with a velcro dot!

The cartridge I used was the CTMH Artiste and you can pick up the  Design Studio file here for this project.


Another new design idea coming tomorrow...


Monday, October 27, 2014

H2H Challenge and Midnight

Day 7 of FRIGHTFULLY Creative Halloween FUN!


Today's post was inspired by the theme "Midnight" for this week's H2H Challenge. The word  Midnight does conjure up images of dark, scary nights.... but I knew right away what I wanted to do when I saw this bottle of wine sitting on my Target shelf!


One of my FAV-orite wines ...

I wanted to make some wine charms but not the traditional ones with a wire but a paper version.  I found these as I was 'googling' wine charms.  Have you noticed how that word has turned into a verb rather than an noun?  OK- you didn't pay attention in English class!

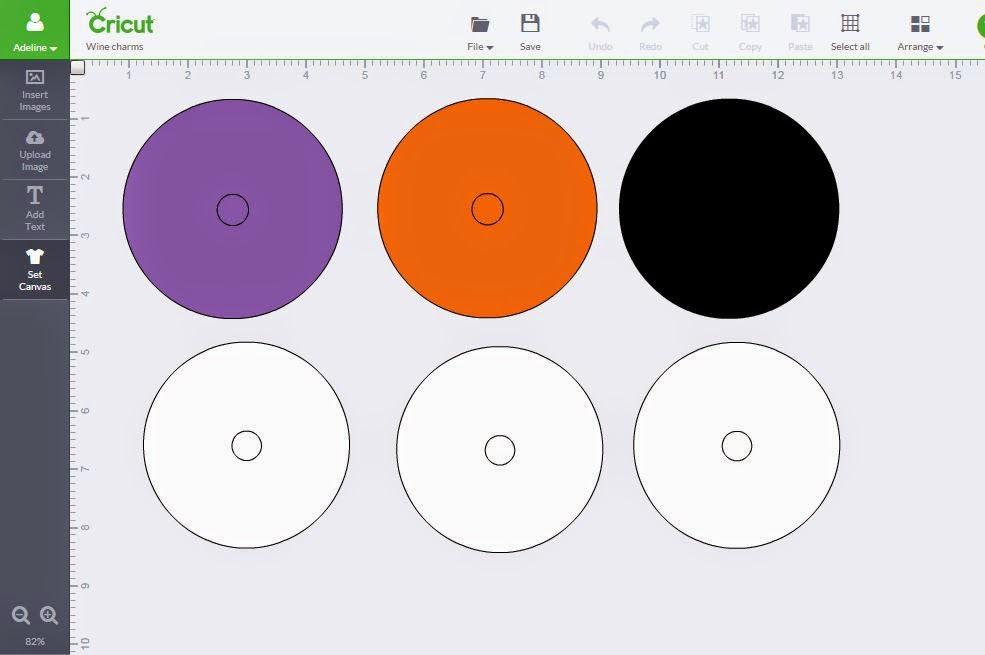
So I created this quick and easy Cricut Design Space file you can find here.  The circle in the middle is .5" and you may have to change it to fit your wine glass stem.

It is a simple 3.5 circle with a 3.0 circle center. The center circle varies from .5 to .65 to accommodate the width of the stem. Easy!


Did you notice that the one charm has a decorative edge to it?  I created that wine charm in the Pazzles Inspiration Pro 2014 software using the Decorative Tools option - the lesson today with the amazing Klo!

I love the 'notes' function in this new software - I can add my own comments or add where I found the file.
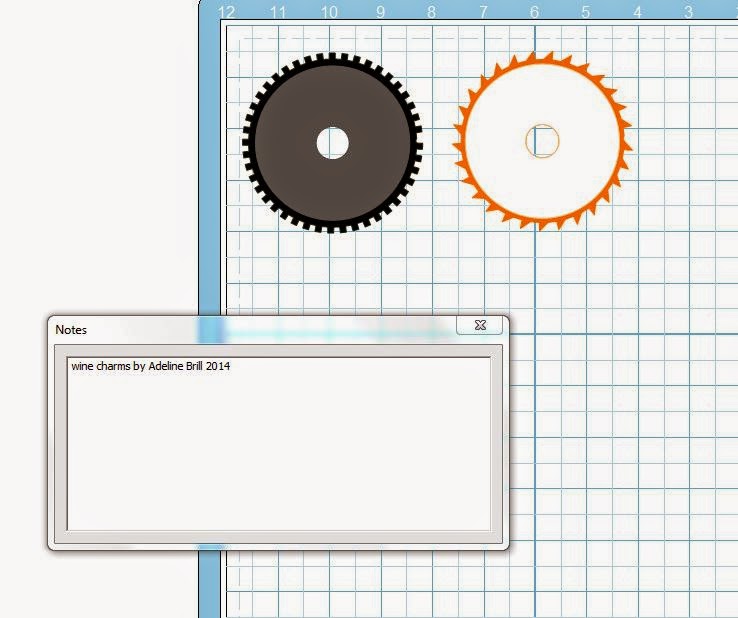
You can find the files here..
Wine Charms wpc file here
Wine Charms pvg file here
Wine Charms svg file here

Since I never sell a Halloween stamp set, I have two retired stamp sets featured here- sorry!

Supplies:
Black and White Daisy cardstock
Scaredy Cat B & T paper
Lola B & T paper
Ink colors - Slate, Black, Gypsy,Honey

Stamp sets:
B1281 Hallow-Scream (retired)
C1512 Moonlight Scrapbooking Workshop (retired)
D1605 Halloween Greetings
B1453 Frightfully Fun
B1429 Eek & Shriek

Why don't you play along with us this week and use the theme- "midnight".  I would love to see what you come up with!

Here is the linky so you can link up your artwork.


Sunday, October 26, 2014

Day 6 of FRIGHTFULLY Creative Halloween FUN!


Day 6 of FRIGHTFULLY Creative Halloween FUN!


Boo...hoo...hoo...  I have been working on today's projects for a few days.   I decorated my home about a week ago and I found this tissue box project that I had several years ago.  I found the original idea on SplitCoast stampers here.  At the time, I had just started my blog and I don't remember posting this project.  So I decided to update it to a 21st century version.


A friend of mine had given me some 'swankies' or Halloween Hankies.  I was going to design a file for them but then decided to make the tissue box cover instead.


I knew that I didn't have to cut it out and score it by hand like the original directions. So I designed the first file in my Pazzles InVue software.  This software is designed so that I can actually measure the sizes accurately.

The Pumpkin Tissue Box looks like this....

Pumpkin Tissue Box wpc file here
Pumpkin Tissue Box pvg file here 
Pumpkin Tissue Box SVG file here.


The Frankie Tissue Box looks like this....  

Frankie Tissue Box wpc file here
Frankie Tissue Box pvg file here
Frankie Tissue Box SVG file here


I was able to create the jagged hairline using the decorative scissors option in the Pazzles Inspiration Pro 2014 software.  The face features were created using weld, subtract weld and with the frankie mouth I used the Intersect weld feature on the Pazzles InVue software.  Our amazing Klo taught this lesson last Sunday and this was a perfect use of that very lesson!


I saved it as an SVG but the Cricut Design Space was not reading it accurately enough so I had to start with the basic shapes and recreate the entire file.  I had to tweak the original design a few times to make sure the score lines were in the correct places.  


Here is a picture of the Cricut Design Space file.  You can find the file here  The faces are from the CTMH Artiste cartridge and the oval is from the CTMH Art Philosophy cartridge.  You can certainly substitute a file you already 'own'!


Unfortunately in Design Space you can not add a cut line like you can in the Pazzles software, so you are going to have to snip the corners with a pair of scissors.


I hope you enjoyed this creative fun Halloween project.  Leave me a comment if you cut any of the files out.  The assembly is rather easy and you can always refer back to the Splitcoast video.  I inked up the sides and sanded Frankie's hair for additional accents.


Tomorrow....Midnight and the H2H challenge!

Saturday, October 25, 2014

Day 5 of FRIGHTFULLY Creative Halloween FUN!

Day 5 of FRIGHTFULLY Creative Halloween FUN!


Today's idea is a 'blast from the past'!  I figured everyone needed a quick project idea for the weekend and this is perfect.


I decided to play around with the canvas side of Design Space and found a collage frame to revisit this original file.  The designs are from one of my favorite Cricut cartridges - Paper Dress Up Dolls


You can find the Design file here.   Now all you have to do is find the frame  and paint it orange!

Coming tomorrow....Boo..Hoo Hoo!


Friday, October 24, 2014

Day 4 of FRIGHTFULLY Creative Halloween FUN!


Day 4 of FRIGHTFULLY Creative Halloween FUN!


One of my absolutely favorite broadway plays is "Wicked".  Sadly , I have only seen it in Tampa, but that's OK!  This title was perfect for the layout that I created for an H2H Challenge in August. - Inspired by a book.

More often that not, I will design my layouts in one of my programs so I can have a visual of what it will look like when it is completed.  In this case I found a sketch on http://paper-secrets.blogspot.com and used that as my starting point.


I actually started with scraps and then designed it in the Cricut Design Space using the included scrapbook canvas.  I also added some stamping because my layout looked naked!


As you can see it is not exactly like the layout but that is the best part!

The design file for the Cricut Design Space is here..  Feel free to use it but you must have the Mini Monsters cartridge to cut it out.  The shapes are from the Cricut Craft Room Basics which are free to everyone who has DS. You can certainly substitute any designs that you think will work with it!  Here is the same exact layout with different colored cardstock and other designs from the Mini Monsters cartridge.  I think you get the idea!


Here is this month's sketch challenge.  This looks like an easy one.  Why not give this a try yourself!  Check out the additional information on their blog here.


Coming tomorrow.....  BOO...who?